
Do you need an online presence to promote your business, product or passion? What if I told you you could get set up with your very own blog in less than an hour, with no knowledge of web design, or virtually any technical skills at all, for under $3/mo? Welcome to the world of blogs!
In this article I’ll walk you through the steps needed to set up a self-hosted WordPress blog hosted by Bluehost. I use this exact combination for the Sinplicity blog. As a novice blogger myself the key things I was looking for were ease of use and value, and these companies fit the bill. With free domain registration for a year and less than $3/mo to host my blog it was a no-brainer. Let’s get started…
Step 1: Gather What You’ll Need – to get started you’ll need:
- the domain name you’d like to use (i.e. www.myawesomesite.com)
- a credit card
- about an hour of free time
For the sake of this article I’m going to assume that you do not currently have a registered domain, which is great since when you register a new domain through Bluehost it will be completely free for the first year! If you already have a registered domain that’s not a problem at all…you can still use Bluehost to host your WordPress blog. You’ll have the option to transfer your domain during the setup process, discussed in Step 3 below.
Step 2: Set Up Your Hosting Account
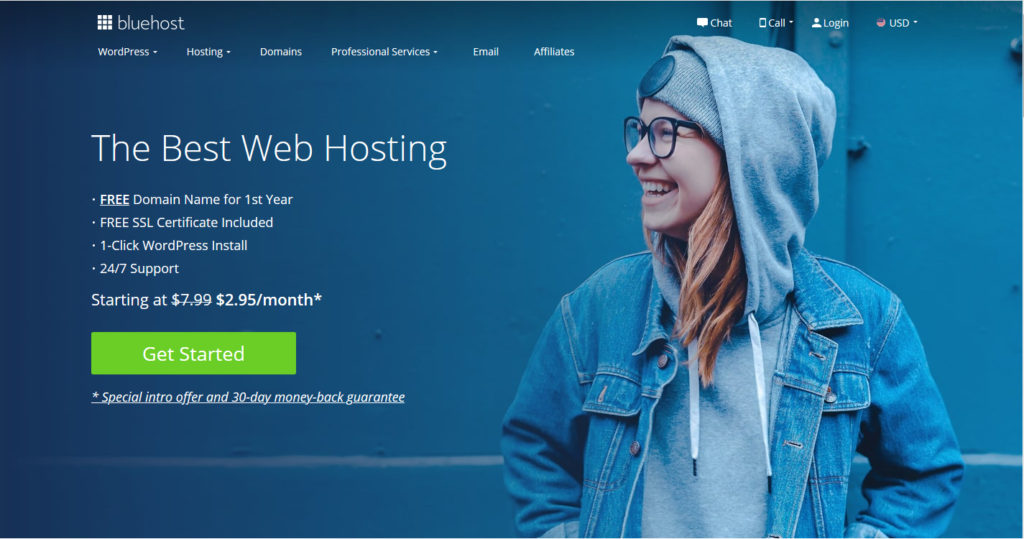
As I mentioned earlier we’re going to sign up with Bluehost to host your blog, so the first thing you’ll want to do is head over to the Bluehost homepage and click the Get Started button.
After clicking the Get Started button you’ll need to pick a hosting plan. You’ll have several to choose from, each offering a few more bells and whistles than the next:
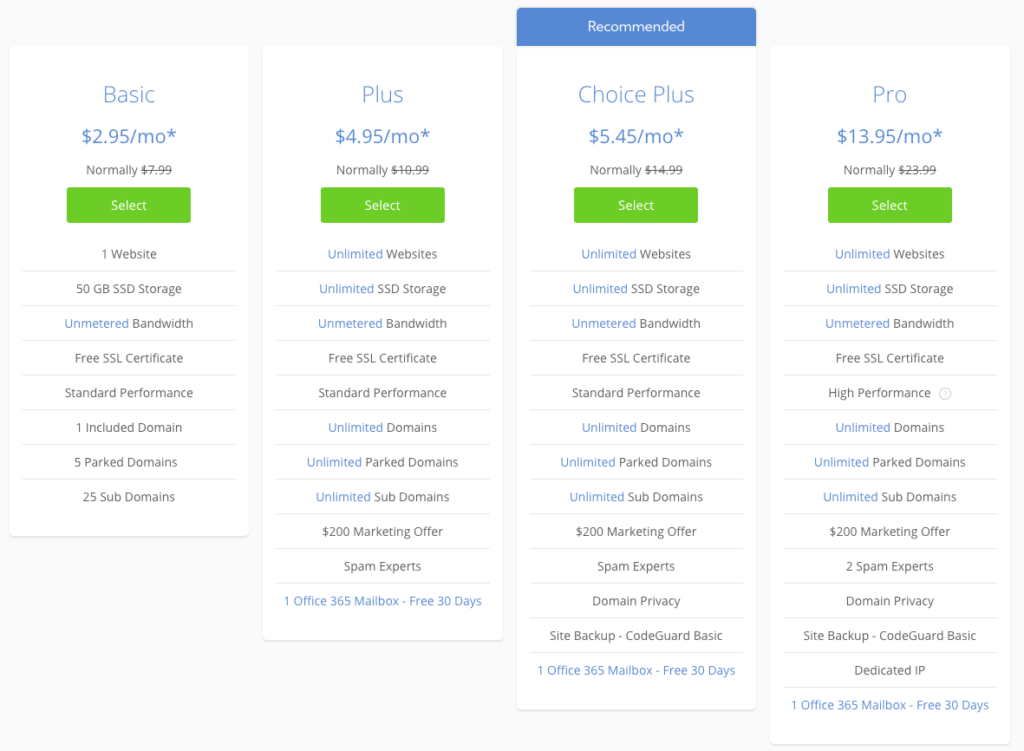
I personally chose the Basic plan and it has served me well so far. Note that if you would like to seamlessly set up a personalized email address (johnsmith@yourdomain.com) you may want to go ahead choose the Plus plan or better from the start. Whichever plan you choose you can easily upgrade later if you need additional features so don’t sweat your choice too much.
Step 3: Register Your Domain
Once you have picked a hosting plan, the next step will be to register your new domain:
In order to register a new domain you’ll first need to be sure that the name you want has not already been registered. To do this, open a new browser window/tab and go to domain.com. Type in the full domain name you are interested in registering (mynewdomain.com) and hit the search button. If the name you chose is already registered you’ll be provided with a few alternatives. You can select one of the alternatives, or search again on a variation of the domain name you want.
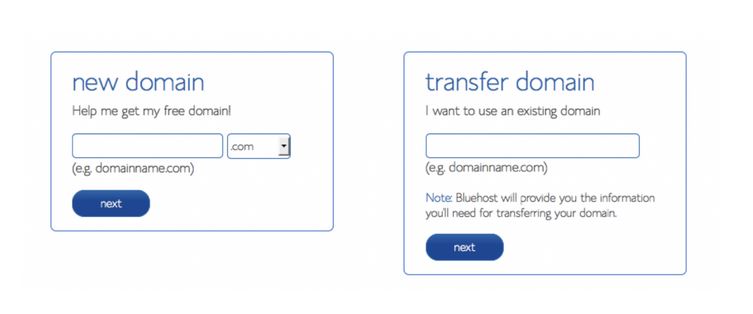
Once you have found an available domain name…STOP. You do not want to register your domain through domain.com, you want to register it for FREE with Bluehost. Switch back over to the Bluehost page, type the name in the “New Domain” box, select the domain extension and hit “Next”.
NOTE: If you already have a domain you would like to transfer to Bluehost you would enter that domain in the “Transfer Domain” box and then follow the prompts to complete the transfer. This is a more involved process and beyond the scope of this article.
Step 4: Finish Setting Up Your Account
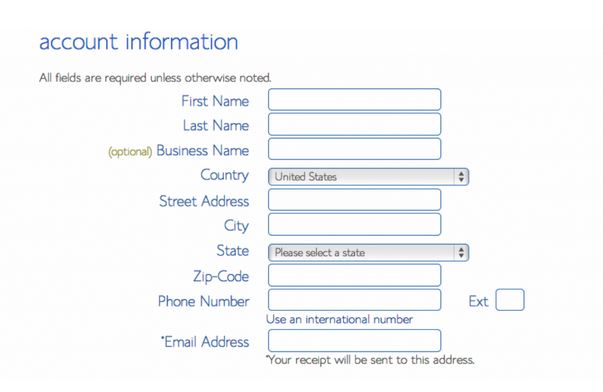
Now you’ll need to provide some additional information to wrap things up, starting with some basic account information:
Next you’ll choose the length of the hosting plan you would like (12, 24 or 36 months) as well as any additional add-ons. Other than possibly Domain Privacy Protection I wouldn’t concern yourselves with the other add-ons:

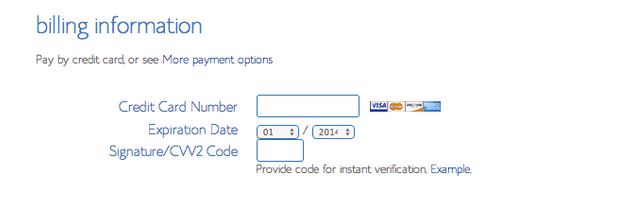
And finally you’ll be asked for some billing information:
Now that we have the “technical” stuff out of the way we can move onto the fun stuff…setting up your blog!
Step 5: Installing Your Blog
Once your payment information has been confirmed you’ll be taken to a Welcome screen:
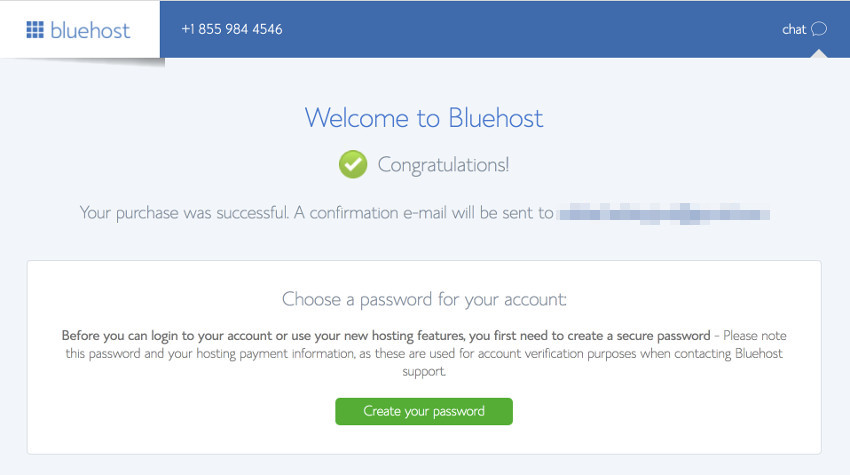
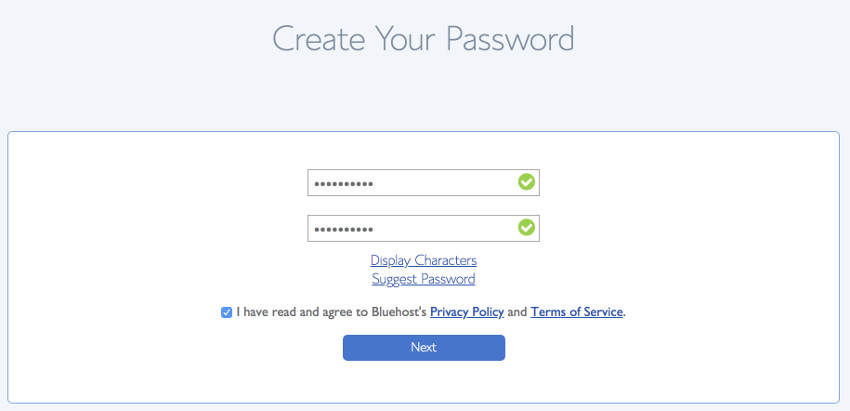
Go ahead and click that bright green button to set up a password for your WordPress blog:
Click “Next” and guess what? You’re done! Well, almost anyway. Your WordPress blog has been installed in the background and is ready for you to customize the look & feel and start creating content. Before you can get started you’ll be given a chance to select a theme for your blog:
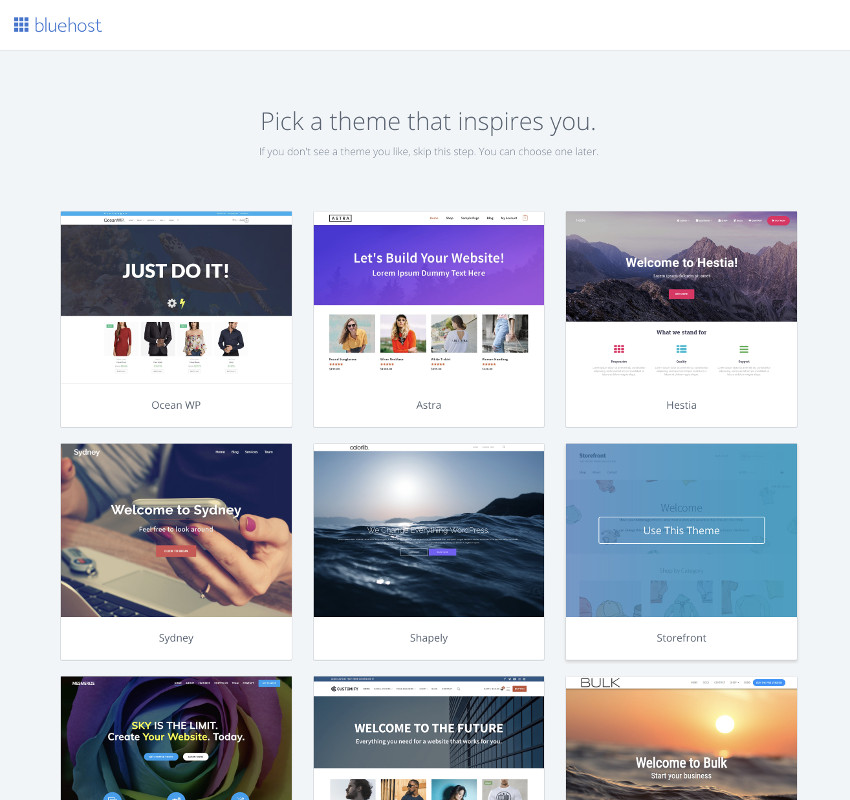
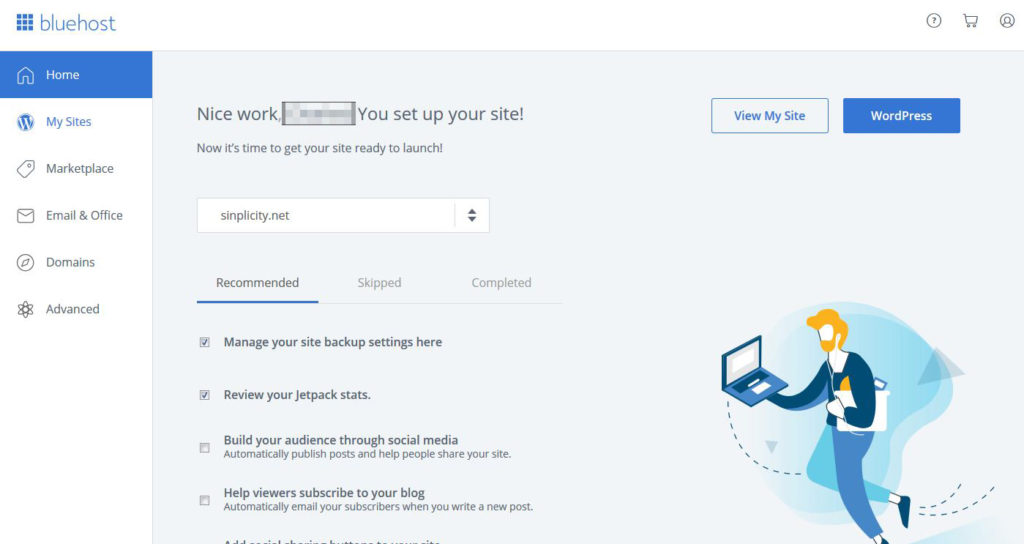
You can select a theme that inspires you or skip this step for now. There are dozens of additional themes available within WordPress and literally thousands more available online, and you are free to change your theme at any time with just a couple of clicks. Whichever you choose, you’ll end up in your Bluehost dashboard:
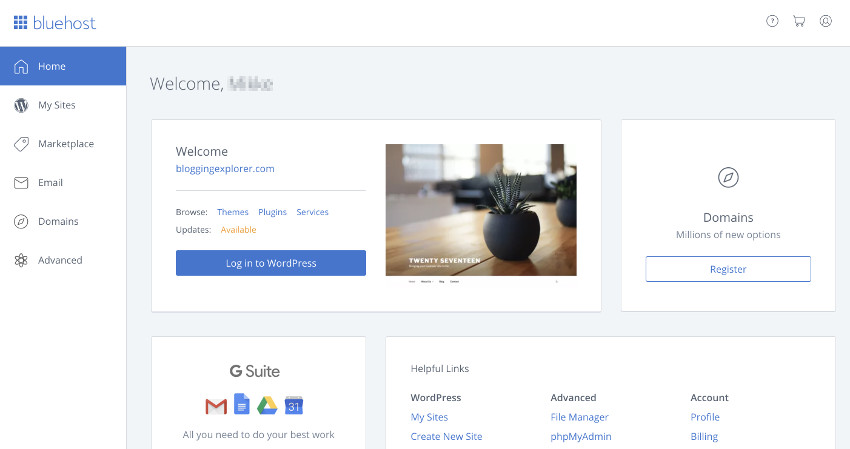
You’ll see your new WordPress blog right there in the center of the screen. Click on the blue button that says “Log in to WordPress” to access your blog.
Step 6: Initial Setup and Getting to Know WordPress
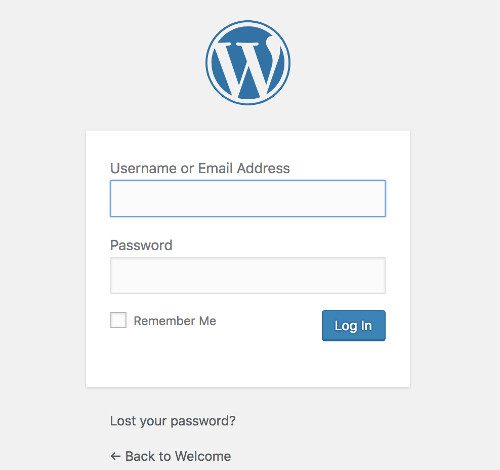
From now on, when you go to the Bluehost homepage you’ll need to log in. When you set up your account you received an email containing your login information, so go ahead and enter it here:
Once logged in you’ll land on your Bluehost portal:
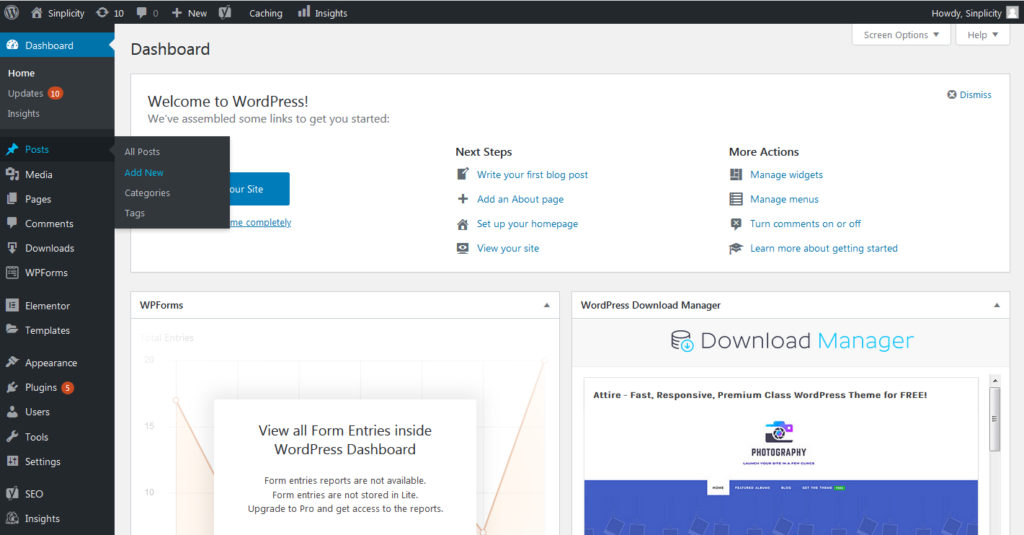
Click the blue “WordPress” button to access the WordPress Dashboard. This is where all the magic happens so get used to seeing this screen!
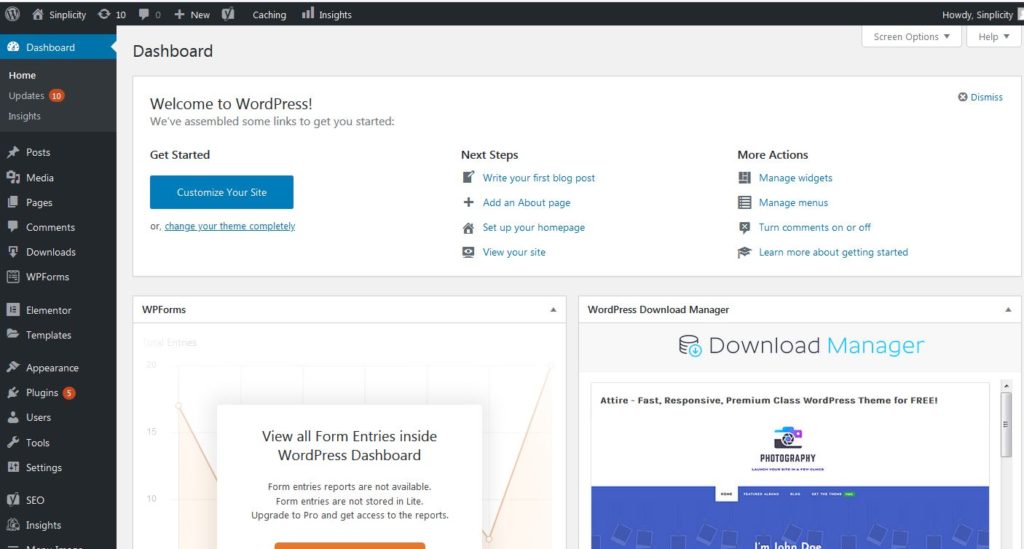
This is just a “getting started” tutorial so I won’t dive too deep into everything, but a few key areas to make note of:
- Posts: Write, edit, view, and manage your blog articles.
- Media: Upload and manage your photo and video files you’ll use in your blog posts and pages.
- Pages: Create and customize your individual pages, like Contact or About Me page.
- Comments: View, approve, and manage all comments from your readers to create a lively discussion on your blog!
- Appearance: Find, install, and configure new WordPress themes to customize and adjust the design of your Bluehost WordPress blog.
- Plugins: Plugins help you add new features to your blog, like contact forms, nifty SEO tools, security and backup tools, and much more.
Now that you’re a little familiar with the interface, let’s go ahead and create that first blog entry.
Step 7: Write Your First Blog Post
Before we get started here you may be thinking…oh no…I never selected a theme way back in Step 5. No worries. Personally I prefer to have some content posted to my blog before choosing a theme, that way I have a better picture of how everything will look. So we’ll go ahead and write that first blog entry and then I’ll show you how to select a theme.
To get started, click on Posts > Add New from the left-hand menu:
This will open the post editor screen:
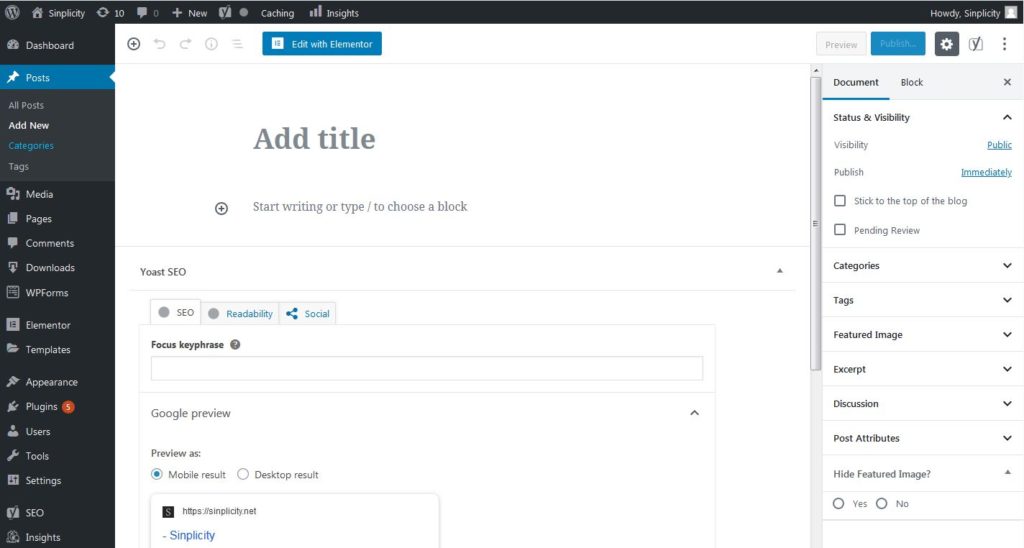
The interface is super intuitive, and again being that this is a “getting started” tutorial I’m not going to cover all of the various editing tools. For the sake of this article let’s just go ahead and add a title in the “Add title” box and type up a paragraph or two of text in the box below that. (no need to worry too much about the content as this is simply a post to get you comfortable and you can delete it later)
The final thing we’ll want to add to our post is a “Featured image”. This image will appear at the top of your post, and will serve as the thumbnail image for your post on your homepage. To add a featured image, look for the featured image section on the right-hand side of your screen. You may need to expand this section in order to see the “Set featured image” option. Clicking this button will open a window so you can select an image.
By default the “Media Library” tab will be selected, but since you haven’t added any images yet go ahead and switch over to the “Upload Files” tab. Click the “Select Files” button in the middle of the screen and choose an image from your computer to use as the featured image in this post. Once you’ve uploaded the photo it will be placed in your Media Library. Click the blue “Set featured image” button in the bottom-right corner to add this image to your post.
If you already set a theme for your blog, you can hit the “Preview” button at the top of the screen to see how your finished post will appear. If you’re happy with it, go ahead and hit the “Publish” button and BOOM…your first blog post is live!
However, if you did not set your theme or aren’t happy with the one you chose when you initially set up your blog, it’s easy enough to take care of that right now. From the left-hand menu select Appearance > Themes which will open…you guessed it…the Themes page:
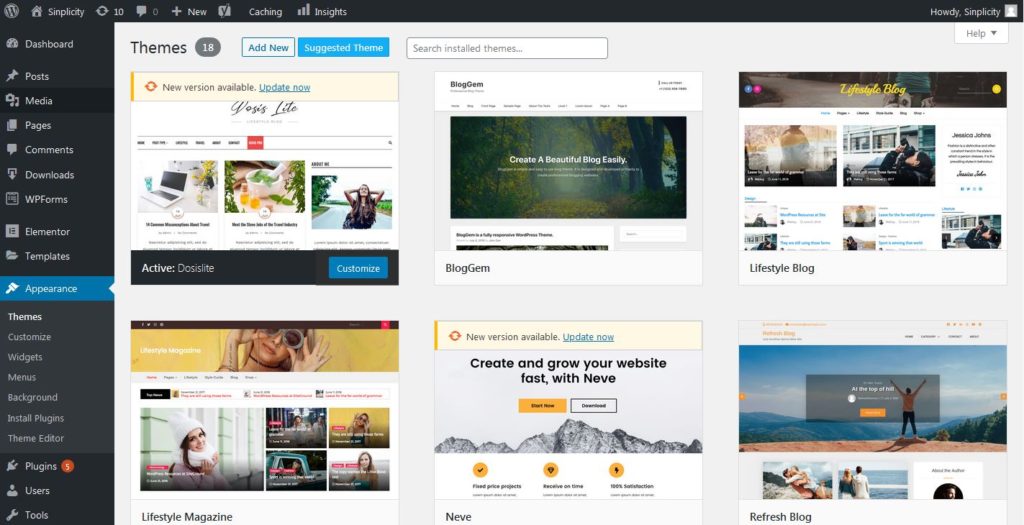
The currently active theme will be the first one you see in the top-left corner. To change themes, scroll until you find one you like, hover your mouse over the image and click the “Activate” button. This will apply that theme to your blog. It’s as simple as that. To see how your blog looks with this new theme select Posts > All Posts, click the post we created earlier and then click the Preview button at the top of the screen. You can repeat this process over and over, changing out themes until you are happy with the look, and then Publish your post.
From here you need only repeat the above steps to create additional posts on your blog. I encourage you to play around with the different features to see what works best for you. Getting stuck or need help? Jump on Google or YouTube and you’ll almost certainly find someone who has written an in-depth tutorial or posted a video that will help. There are over 850,000 WordPress blogs online and the user-community is phenomenally friendly.
Congratulations!
And there you have it. In just a few steps you launched an online presence! I hope this step-by-step tutorial on how to set up your own blog with Bluehost has helped. I know getting a new blog up-and-running can seem highly technical, but once you do it, you’ll be surprised how easy it is.
If you have any questions or comments please feel free to leave them below.